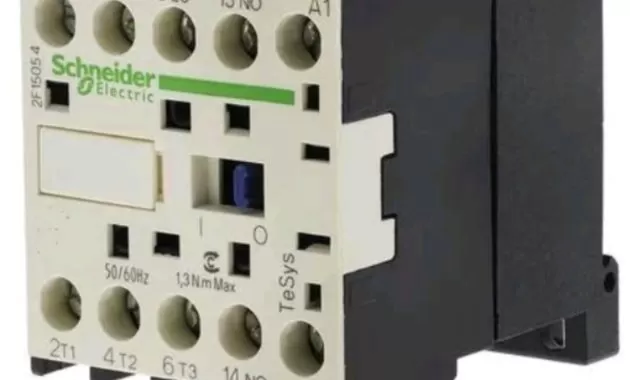
Multymeter.com- Electrical Engineering: Hello everyone, are you looking for an easy and practical way to install a contactor? If yes, then you are at the right place. This article will provide a step by step tutorial on how to install contactor correctly and safely. Contactor is a tool used to switch on and off the electric current automatically or manually. Contactors are generally used to control electric motors, lights, pumps, fans and other electrical equipment. The contactor consists of several parts, namely the coil, the main contact, the auxiliary contact and the terminal. To install the contactor, you should prepare various tools and materials, namely:
Contactors according to the capacity and type of load to be controlled.
Fuse or MCB (miniature circuit breaker) as overcurrent protection.
Push button or switch as manual controller.
Timer or relay as automatic controller (optional).
Power cable according to size and length required.
Screwdrivers, pliers, wrenches and other tools.
Once all the tools and materials are ready, you can start installing the contactor by following these steps:
Step 1: Installing the fuse or MCB.
The first step you need to do is to install a fuse or MCB as overcurrent protection. The fuse or MCB must be installed in the power supply that will flow to the contactor. You can choose a fuse or MCB according to the current rating required by the load. For example, if the load to be controlled is a 1 HP (horsepower) electric motor with a voltage of 220 VAC (volts alternating current), then you can use a fuse or MCB with a rating of 10 A (amperes). To install a fuse or MCB, you will need to do the following:
• Turn off the power supply to be used.
• Open the cover of the fuse or MCB box with a screwdriver.
• Install the fuse or MCB in the slot provided in the box.
• Connect the phase wire (red color) from the mains voltage source to the fuse or input terminal of the MCB.
• Connect the phase wire (red) from the fuse or output terminal of the MCB to the L1 contactor terminal.
• Connect the neutral wire (blue) of the mains voltage to the N terminal of the contactor.
• Close the fuse box or MCB again with a screwdriver.
Step 2: Installing the push button or switch
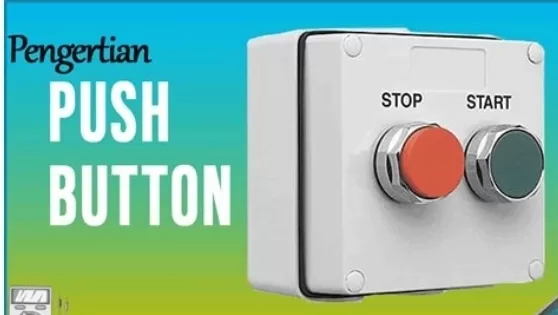
The second step you need to do is to install a push button or switch as a manual controller. The push button or switch functions to turn the contactor on and off manually. You can choose a push button or switch according to your needs and tastes. For example, if you want to use pushbuttons, you can choose on/off pushbuttons, start/stop pushbuttons or momentary pushbuttons. To install a push button or switch, you must do the following:
• Choose an easily accessible location to install the button or switch.
• Drill a hole in the selected location according to the size of the push button or switch.
• Install the push button or switch in the drilled hole.
• Connect the phase wire (red) from the L1 terminal of the contactor to the input terminal of the push button or switch.
• Connect the phase wire (red) from the push button or switch output terminal to the A1 terminal of the contactor.
• Connect the neutral wire (blue) from the N terminal of the contactor to the A2 terminal of the contactor.
Step 3: Installing the timer or relay
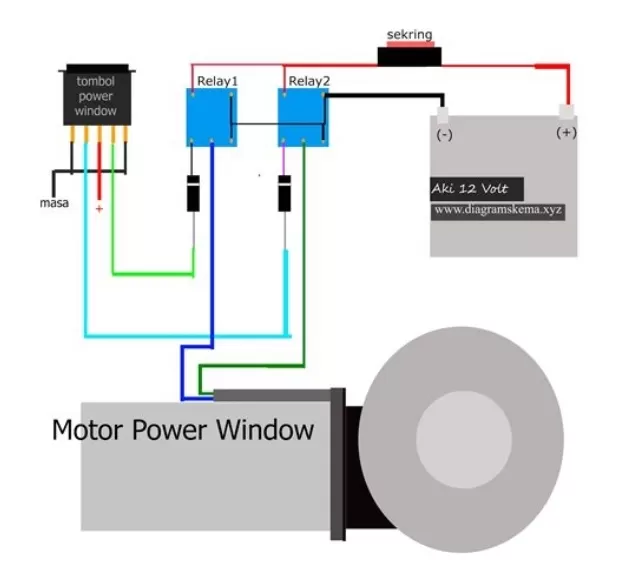
The third step you need to do is to install a timer or relay as an automatic controller (optional). The timer or relay functions to turn the contactor on and off automatically according to the set time. You can choose a timer or relay according to the type and function you want. For example, if you want to use a timer, you can choose a delay timer, a delay timer or a cyclic timer. To install a timer or relay, you will need to do the following:
• Choose a safe, dry location to install the timer or relay.
• Drill a hole in the selected location according to the size of the timer or relay.
• Install a timer or relay in the drilled hole.
• Connect the phase wire (red color) from the push button or switch output terminal to the input terminal of the timer or relay.
• Connect the phase wire (red color) from the timer or relay output terminal to the A1 contactor terminal.
• Set the desired time on the timer or relay using the buttons or switches provided.
Step 4: Installation of main contacts
• Choose a location close to the load to connect the main contacts.
• Unscrew the main contact box with a screwdriver.
Place the main contact in the selected location.
• Connect the phase conductor (red) from terminal L1 of the contactor to terminal T1 of the main contact.
Connect the wire.***
Source: Bing GPT+4